How To Do 12 Poses Of Surya Namaskar Along With Benefits?
The Surya Namaskar, or Sun Salutation, is a sequence of 12 strengthening yoga poses that elevates one's energy levels, enhances flexibility and brings mental alertness. This ancient therapy can be both a good way to spend the morning and a successful full-bodied workout. In this case, we will discuss each pose in details which will be easy for teenagers and beginners to understand and practice. So, let's explore the magical world of Sun Salutation and find its numerous advantages!
What is Sun Salutation?
Sun Salutation is not merely a physical activity, it is a lot more than that. It is a set of poses done in an uninterrupted flow, each with a specific breathing pattern. This synchronized union encompasses all the motions and breathwork, which makes it holistic in nature.
Benefits of Sun Salutation
-
Improves Flexibility: Regular practice stretches and tones the muscles, making you more flexible.
-
Boosts Energy: It invigorates your body, providing a natural energy boost.
-
Enhances Mental Focus: The synchronized breathing helps calm the mind, enhancing concentration and mental clarity.
-
Strengthens Muscles: It's a full-body workout that strengthens the arms, legs, back, and abdominal muscles.
Step-by-Step Guide to the 12 Poses of Surya Namaskar
Step 1. PRANAMASANA (Prayer Pose)
-
Stand at the edge of your mat, feet together, and balance your weight equally on both feet.
-
Expand your chest and relax your shoulders.
-
As you breathe in, lift both arms up from the sides, and as you exhale, bring your palms together in front of the chest in prayer position.
Step 2. HASTA UTTANASANA (Raised Arms Pose)
-
Inhale and lift the arms up and back, keeping the biceps close to the ears.
-
The aim is to stretch the whole body up from the heels to the tips of the fingers.
Read Also: How To Do The Upward Plank Pose
Step 3. PADA HASTASANA (Standing Forward Bend)
-
Exhale and bend forward from the waist, keeping the spine erect.
-
Bring the hands down to the floor beside the feet.
Step 4. ASHWA SANCHALANASANA (Equestrian Pose)
-
Inhale and push your right leg back, as far back as possible.
-
Bring the right knee to the floor and look up.
Step 5. PARVATASANA (Mountain Pose):
- Exhale, lift your hips up and back, forming an inverted 'V' with your body.
Step 6. ASHTANGA NAMASKARA (Salute With Eight Parts)
-
Hold, Gently bring your knees down to the floor and exhale.
-
Take the hips back slightly, slide forward, rest your chest and chin on the floor.
-
The two hands, two feet, two knees, chest, and chin (eight parts of the body) should touch the floor.
Read Also: How To Do Bow Pose
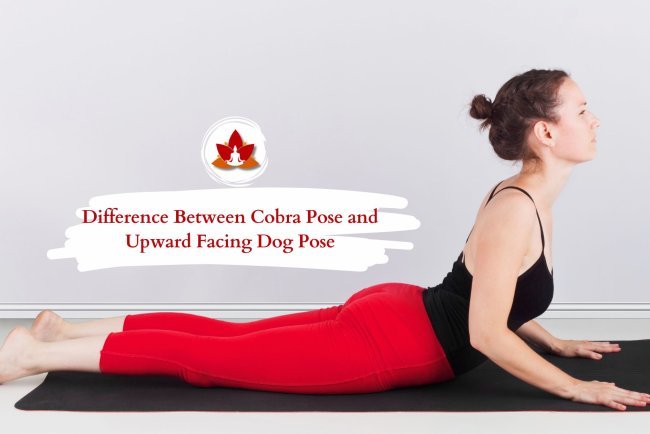
Step 7. BHUJANGASANA (Cobra Pose)
-
Inhale, Slide forward and raise the chest up into the Cobra posture.
-
You may keep your elbows bent in this pose, with the shoulders away from the ears.
Step 8. PARVATASANA (Mountain Pose)
- Exhale, lift your hips up and back, forming an inverted 'V' with your body.
Step 9. ASHWA SANCHALANASANA (Equestrian Pose)
-
Inhale and bring the right foot forward in between the two hands, left knee down to the floor, press the hips down and look up.
Step 10. PADA HASTASANA (Standing Forward Bend)
-
Exhale and bring the left foot forward. Keep the palms on the floor. You may bend the knees, if necessary.
Step 11. HASTA UTTANASANA (Raised Arms Pose)
-
Inhale, roll the spine up, hands go up and bend backward a little bit, pushing the hips slightly outward.
Step 12. PRANAMASANA (Prayer Pose)
-
As you exhale, first straighten the body, then bring the arms down. Relax in this position, observe the sensations in your body.
Tips for Beginners
Starting something new can be challenging, but here are some tips to make it easier:
-
Go Slow: Take your time with each pose and focus on your form rather than speed.
-
Listen to Your Body: If a pose feels uncomfortable, modify it or skip it. Yoga is all about harmony, not pain.
-
Practice Regularly: Consistency is key. Even a few minutes every day can make a big difference.
-
Stay Hydrated: Drink plenty of water before and after your practice to keep your body hydrated.
Q. How often should I do Sun Salutation?
-
Try doing 5-6 rounds, then increase gradually as you get more confident.
Q. Can Sun Salutation help me lose weight?
-
Indeed, when done at the right speed, it can be a great cardio exercise that helps to burn calories.
Q. Is it okay to practice Sun Salutation during menstruation?
-
It is recommended not to take some poses during the menstruation, especially the ones that involve inversions or backward bends. Meditate on your body and seek advice from a yoga instructor.
Sun Salutation is a marvelous tool to both improve your physical condition and reconnect with your inner self. Whether you're an adult or a teenager, performing Surya Namaskar every day can lead to many health benefits. Do not forget that consistency is a key factor. Therefore, keep practicing, and you will enjoy the results for sure!
For more academic insights into yoga and its practices, you might find these additional links helpful: See the link.
What's Your Reaction?


